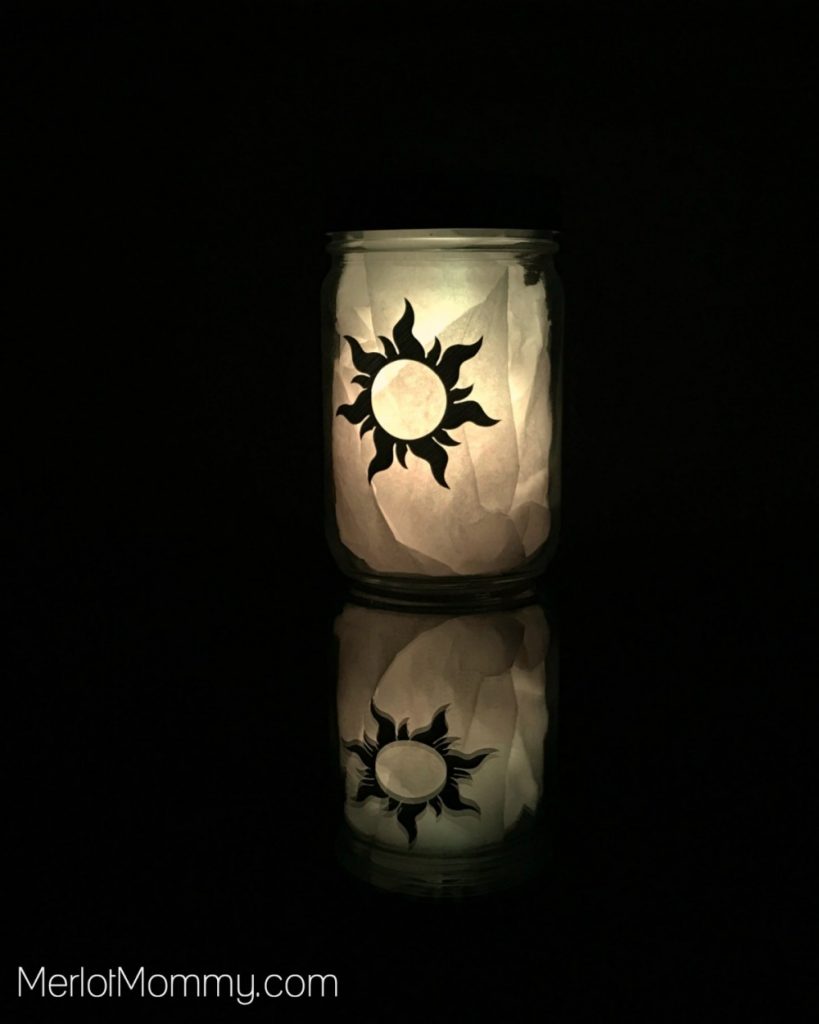
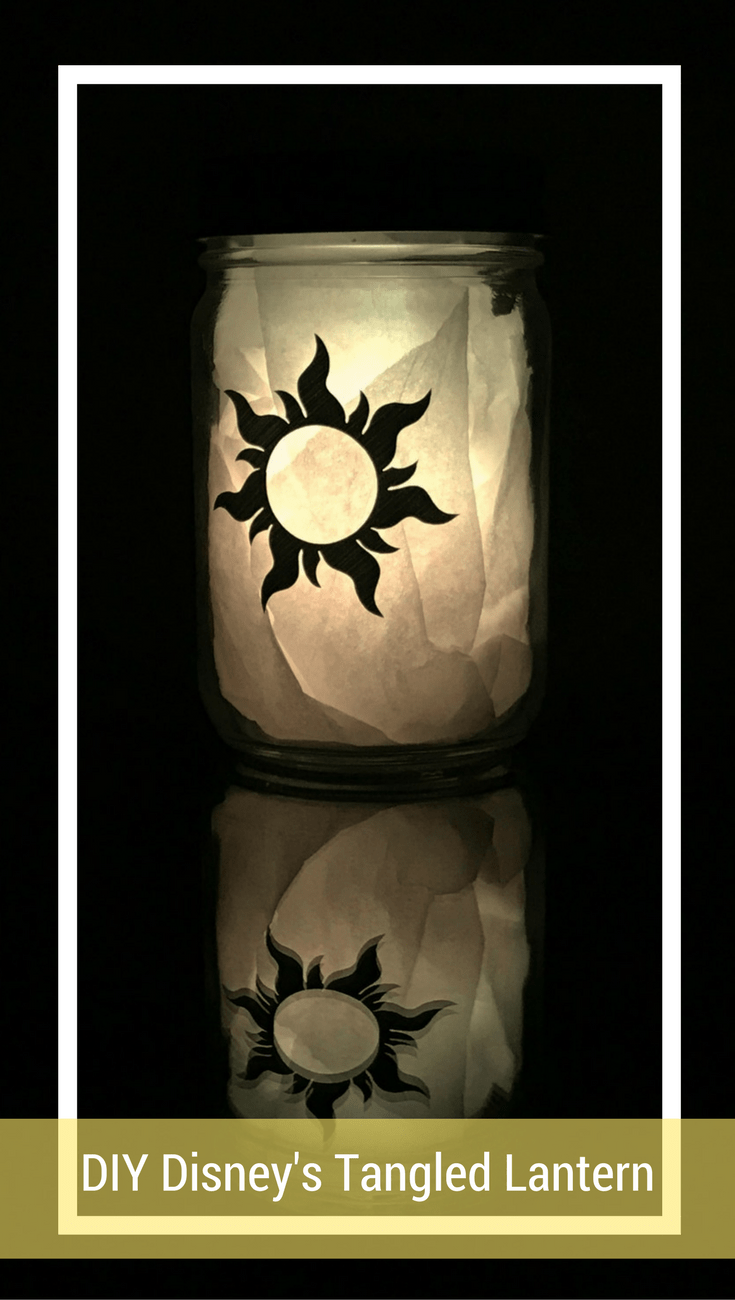
Summer is just around the corner and that is the perfect time for creating fun outdoor (or indoor) decorations with my Cricut Explore Air. This DIY Disney’s Tangled Lantern is super quick and easy and will remind you of Rapunzel’s Night Dream lanterns in Tangled and how excited Rapunzel was to see them for the first time in real life!
If you’ve never used a Cricut Explore Air, you might wonder, “What different materials can I cut with the Cricut?” The short answer: LOTS. Thanks to Cricut for partnering with me on this post. As always, all opinions are my own. This DIY Disney’s Tangled Lantern uses the Silver Adhesive Foil Stainless finish vinyl and major jar for an easy mason jar craft.
We’ve done a few DIY projects now on the blog with our Cricut Explore Air. It’s so easy to work with. Most of the time I can knock out a quick project in under an hour; sometimes in less than 30 minutes!
DIY Disney’s Tangled Lantern
Supplies:
- Silver Adhesive Foil Stainless finish
- Cricut Cutting Mat
- Cricut Explore Air
- Weeder
- Scissors
- Transfer Tape
- Scraper
- Mason Jar
- Tissue Paper
- Light Source (I used a glow ice cube from a recent trip to Walt Disney World, but you could use a battery-operated tea light or similar)
Directions:
- Create new project file in Cricut Design Space.
- Select the image you want to insert from Cricut Design Space (I searched “Disney” and selected the sun logo from Disney’s Tangled).
- Edit the image in Cricut Design Space to the size and color you want to cut (I usually use white as the fill for all layers).
- Place Silver Adhesive Foil Stainless onto Cricut Cutting Mat and load mat in Cricut Explore Air (you should use the strong mat, but I misplaced mine, so you’ll see the standard mat in the photos).
- Send file to print.
- Follow on-screen directions to finish using the Kiss Cut.
- Once image is cut to vinyl, remove mat from Cricut Explore Air.
- Remove negative Cricut film pieces, leaving only the desired cut image on the liner (this process is known as weeding). Using the weeder (found in the Cricut Tool Kit can make this process faster and less tedious).
- Remove the transfer tape liner (cut to a little bit larger than your final art size).
- Gently place the transfer tape down on top of the image. To eliminate any bubbles, use a craft stick or the scraper, starting in the center and drawing outward toward the edges to burnish the transfer tape to the adhesive foil.
- Peel away the adhesive foil liner at a 45-degree angle. If the adhesive foil does not separate from the transfer tape liner, burnish the transfer tape onto the adhesive foil and peel away again.
- Make sure you have a flat, dry, clean work surface.
- Carefully position the transfer tape with the adhesive foil images onto your project surface how you would like them to appear.
- Burnish the transfer tape onto the project surface, starting in the center and gently moving outward, again using the scraper or a craft stick.
- Peel away the transfer tape from the adhesive foil at a 45-degree angle. If the adhesive foil images stick to the transfer tape, burnish the transfer tape onto the foil and peel away again.
This is a sponsored conversation written by me on behalf of Cricut. The opinions and text are all mine.
- Is a Micro Wedding the Dream You Didn’t Know You Had? - February 14, 2025
- DIY Valentine’s Day Cards Inspired by Monster High - February 13, 2025
- What Therapy Options Are Out There and What Ones You Haven’t Considered - February 13, 2025


[…] DIY Disney's Tangled Lantern Using Cricut Explore Air […]