
Where are my 90s fans? If you love “Rugrats” you’ll love this Reptar RAWR DIY Dinosaur Mug!

DIY Dinosaur Mug
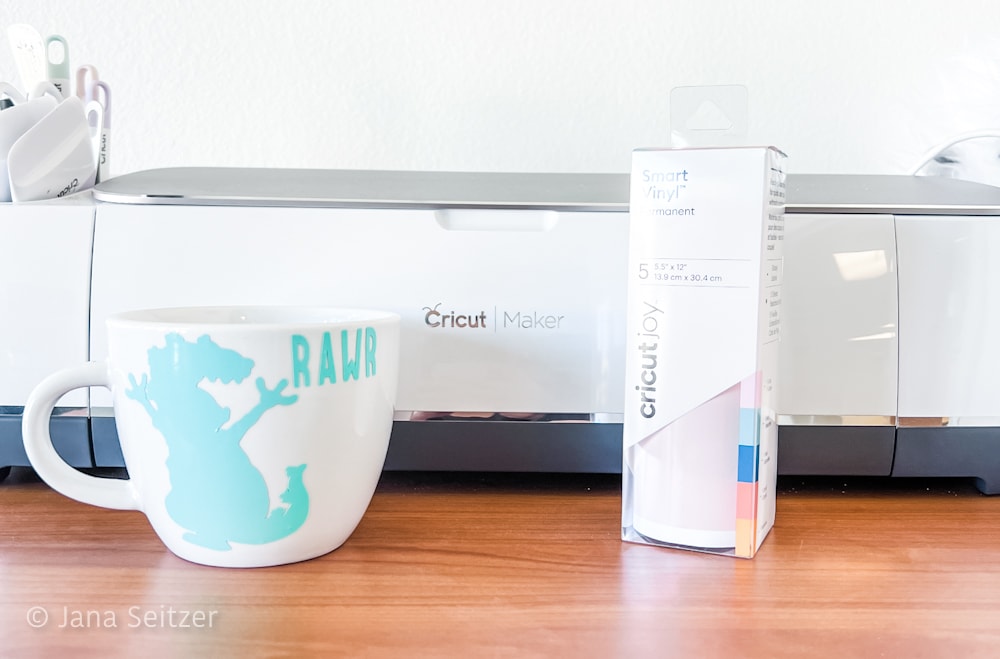
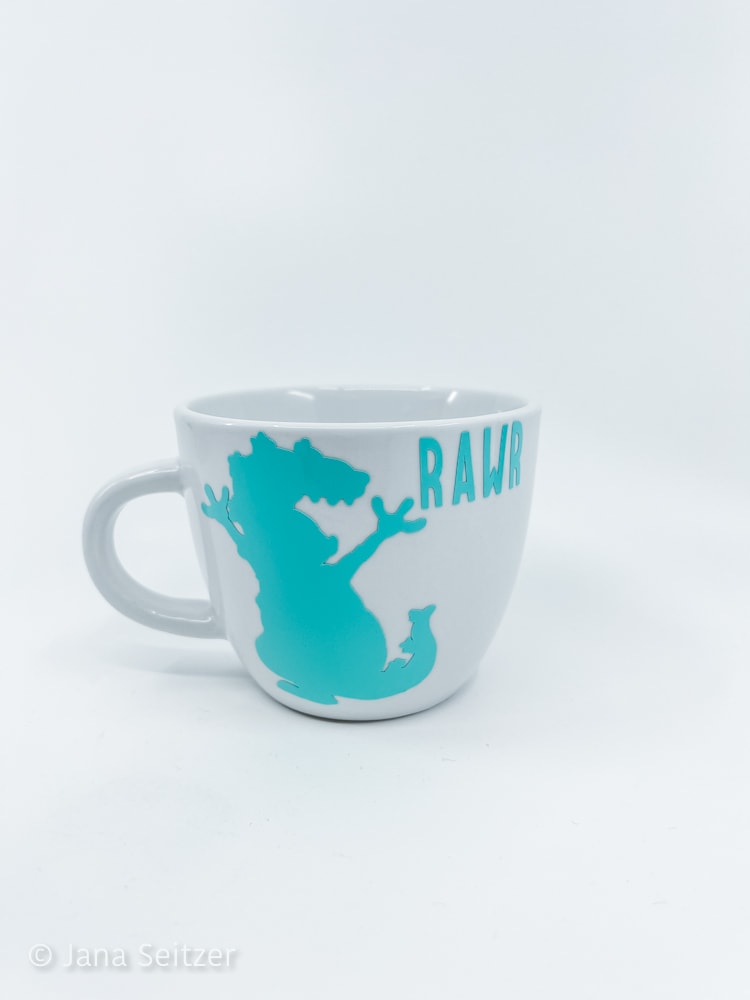
This cute 90s-inspired DIY Dinosaur Mug was done with vinyl artwork cut with the Cricut Maker to celebrate Season One Volume Two of “Rugrats” on DVD.
This post contains affiliate links.

Supplies for your DIY Dinosaur Mug
- Cricut Vinyl (permanent)
- Cricut Self-Healing Mat
- Cricut Maker 3
- Cricut Transfer Tape
- Basic Tool Set (Weeder, Scraper, Scissors)
- White coffee mug

Directions for your DIY Dinosaur Mug
- Ready your art file in Cricut Design Space. The custom file I created is available for download here: Dinosaur Mug.
- Apply your Cricut Vinyl (permanent) to the Cricut Self-Healing Mat; use the Scissors in the Basic Tool Set if you need to trim your piece of vinyl before adhering it to the Self-Healing Mat.
- Load the mat into the Cricut Maker 3.
- Follow the directions in the Cricut Design Space to cut the file.
- Remove the negative Cricut Vinyl (permanent) pieces, leaving only the desired cut image on the liner (this process is known as weeding). Using the weeder (found in the Basic Tool Set can make this process faster and less tedious). Personally, I also love the Cricut BrightPad to make this process even easier.

- Apply Cricut Vinyl (permanent) following the directions on the packaging with Cricut Transfer Tape.
- Gently place the Cricut Transfer Tape (adhesive side down) over your cut design, starting in the center and moving out toward the edges. Use the Scrapper found in the Basic Tool Set to burnish (rub or polish) the Cricut Transfer Tape onto the vinyl. Peel the vinyl away from the liner at a 45-degree angle.
- To apply the vinyl decal to the product, carefully place the Cricut Transfer Tape with vinyl decal onto the product as you would like it to appear. Burnish the Cricut Transfer Tape onto the surface, starting in the center, moving out toward the edges. Use the Scraper tool to smooth.
- Peel the Cricut Transfer Tape away from the vinyl at a 45-degree angle. If the vinyl sticks to the Cricut Transfer Tape, simply burnish the Cricut Transfer Tape onto the vinyl with the Scraper and peel away again.
- Enjoy your masterpiece custom Dinosaur Mug!

How to Make the DIY Dinosaur Mug without a Cricut
If you don’t have a Cricut, you can still make your own DIY Dinosaur Mug! Instead of using the art from the Cricut Design Space, you can download this PDF version of the Reptar RAWR art to use as a template to cut your vinyl by hand using scissors.

- Print the PDF to scale so the Reptar is the correct size for the mug you plan to choose.
- Trim the white paper close to the edge of the template.
- Trim your vinyl to match the approximate size of the template you just printed and trimmed.
- Place your template on top of the vinyl and gently tape the template to the vinyl with a few pieces of scotch tape.
- Using a pair of sharp scissors, trim around the black of the template and cut out the shapes as needed for the artwork.
- Remove the template from the vinyl art you have cut out.
- While using Cricut Transfer Tape and the scrapper tools as above in steps 6-10 aren’t essential, they will help you apply a transfer more neatly to your finished project.
- You can also gently peel the backing away from the vinyl and gently apply it while slowly pressing down the vinyl while pulling away the back from underneath the vinyl as you go along.
Check out some of our other Cricut projects! RV Sign | Ew David! Mug | S’mores Sign |Tangled Lantern
Do you have a favorite Rugrats Character? Share in the comments below!
Jana Seitzer is a writer, traveler, podcaster, and geek. Although well-versed in many fictional universes, Star Wars & Marvel have always been her favorites.
Latest posts by Jana (see all)
- SEND HELP is a Campy, Wild, Dark Ride - January 29, 2026
- Mental Health Treatment Is Getting More Personal and That Is a Good Thing - January 29, 2026
- The New Language of Addiction Care, Where Design, Dignity, and Depth Matter - January 24, 2026


Leave a Reply